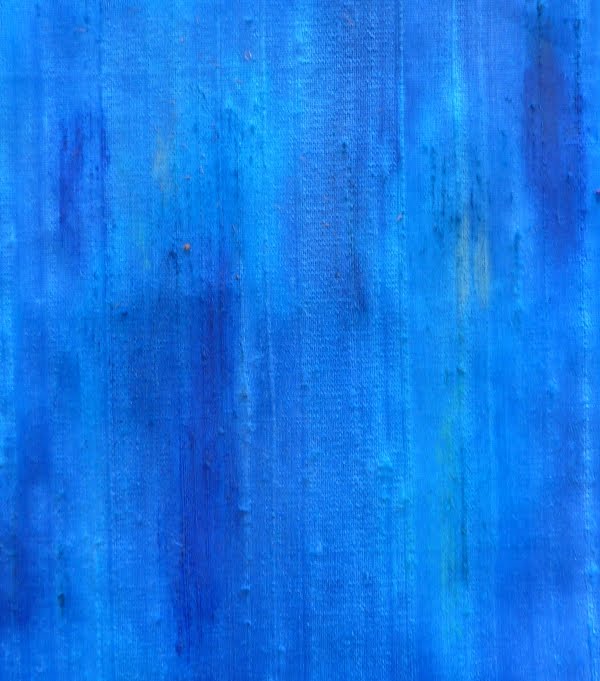
Today I am sharing samples that I wasn't initially happy with. Having been cast aside for a while, I tried adding something to them. Hopefully a change for the better. For once, less isn't more. Firstly green painted tyvek (a remnant from this), changed to blue and then metallic paints added.
 After a quick iron, I think it has transformed into a moth.
 A red and yellow silk painting sample, was machine stitched, and then black oil pastel, red ink and metallic paint added. Has it become a short circuit?
 A chocolate brown flower card, tries to become bronze with the help of acrylic paint.
 An ink sample, is covered with oil pastels, scratched into, flooded with red ink, and then the pastel removed. An alternative flag?
 It hasn't just been samples today, I have been in search of some Greek Art for UWA, more of that tomorrow. But for now, here is a friend I made on the way!
A lovely non-work Wednesday! I attended a Frances Hider workshop on 'Beautiful Batik on Silk' organised by the Guild of Silk Painters - Glasgow & West of Scotland branch. I've only ever tried batik a couple of times previously, and never on silk, so jumped at the chance to have a go. I should point out that my photos here are not of the finished pieces! The work has gone off to be steam-fixed; to set the dye and remove the wax. It will be interesting to see how the removal of the wax changes the image. The first piece is inspired by a photo of a wave. Layers of wax and dye were built up using tjantings, brushes, splattering and dabbing. The second piece was inspired by a photo of a rabbit in silhouette. Using a paintbrush with its bristles coagulated in wax takes some getting used to, as it doesn't quite flow as you would expect! Layers of progressively darker dye were built up to create the image. By the end of the workshop I had noticed that on the wet surface the dye colours had shifted a little... Here's hoping that when my piece is returned my bunny's ear hasn't fallen off!
 Hello, things have been quiet on the blog front recently. I have been busy trying to finish my second assignment for my OCA Textiles 1. It finally went in the post yesterday - hurrah! After spend the last few weeks trying various printing & painting methods, its nice to see the dining table again! Above is a mix of printing using a stencil, and then covering with satin stitch, and below is my first attempt at silk painting. I really like the vibrancy of the colours!
 After a quick iron, I think it has transformed into a moth.
  A red and yellow silk painting sample, was machine stitched, and then black oil pastel, red ink and metallic paint added. Has it become a short circuit?
 A chocolate brown flower card, tries to become bronze with the help of acrylic paint.
  An ink sample, is covered with oil pastels, scratched into, flooded with red ink, and then the pastel removed. An alternative flag?
 It hasn't just been samples today, I have been in search of some Greek Art for UWA, more of that tomorrow. But for now, here is a friend I made on the way!